
After scouring the internet for ideas, I settled on a one roll and a two roll solution for our guest and master bathroom, respectively. The designs called out 3/4″ black pipe but we realized the cheaper 1/2″ works well too. However, the real cost differential lies in the galvanized pipe amd fittings vs the common black pipe. The former is almost a dollar more expensive per component than the latter. If you want the effect of the silver vs black you can paint the cheaper elements. Painted PVC works too but requires a little more creativity. Expect to spend anywherw from $15 to $35 dollars USD based on the design and materials at hand.
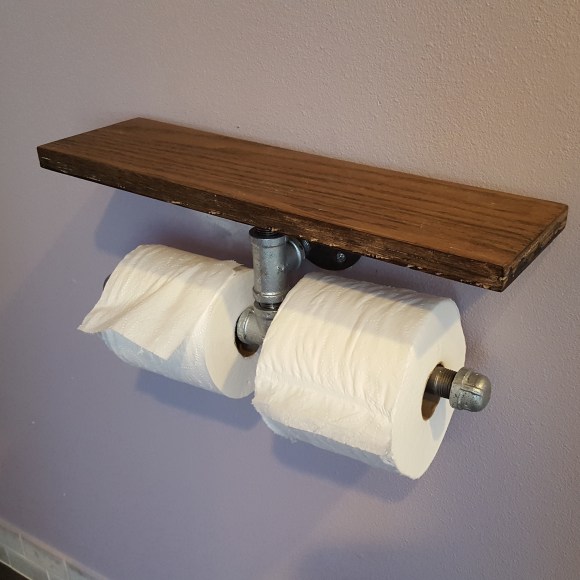
To build the two roll version pictured above you will need:
- Two 6″ black pipe sections.
- Two T’s (galvanized shown).
- Two caps. (Galvanized shown)
- One 2″ or 2.5″ long black pipe section.
- Two couplings (1″)
- Two floor fittings. (Galvanized shown)
- One stained or painted wood board, 3/4″ thick, 14″ long, 6″ wide.
Since the parts screw together it is an easy assembly and the picture will guide you in this process. One floor fitring goes to the wall, the other to the wood (not visible because it is underneath the plank). To secure the assembly to the wall use anchors or wood screws to the stud. Four 2″ screws/anchors are ideal for appearances but 2 diametrically opposed screws will suffice. Mark the fastener locations and drill pilot holes as required. Make sure you attach the wood last to the pipe skeleton and that it is protected to last in the moisture rich environment. Put the rolls on and take a picture. Done!
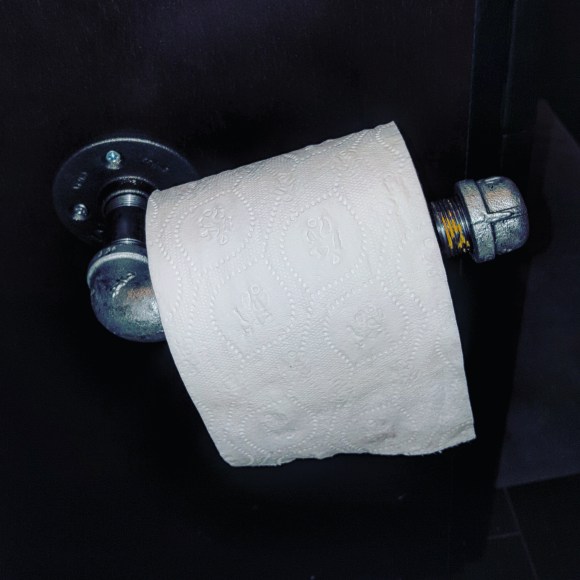
To build the one roll version pictured above you will need:
- One 6″ black pipe.
- One floor fitting. (Galvanized shown.)
- One cap. (Galvanized shown.)
- One 90° elbow. (Galvanized shown.)
- One 2.5″ long pipe section.
- Four screws.
Assemble components together to form an L shape by screwing/twisting the parts together. Install the L at a slight upwards angle to avoid roll slippage. Make sure the fitting to the wall or vanity is at least 4 inches higher than the toilet bowl rim and easy to reach. (Not too far back or forward unless space restrictions won’t allow it.) Measure vanity wood thickness to select the appropriate fasteners. You can use existing holders as reference or look up paper roll holder measurements online. Locations may vary by toilet size, height and space allocations. 🤓
Enjoy!


One reply on “DIY Industrial Look Toilet Paper Holders”
[…] and updates are almost completed on the inside. Check out the Master Closet Under $500 DIY, the Industrial TP holders, the pantry update and the light switch replacement for more info. We are still waiting on the […]
LikeLike